Devlog #7 - Wires, Vehicles, Next Fest & More!
A catch-up of everything we got done in the latter half of 2024, plus a big announcement!
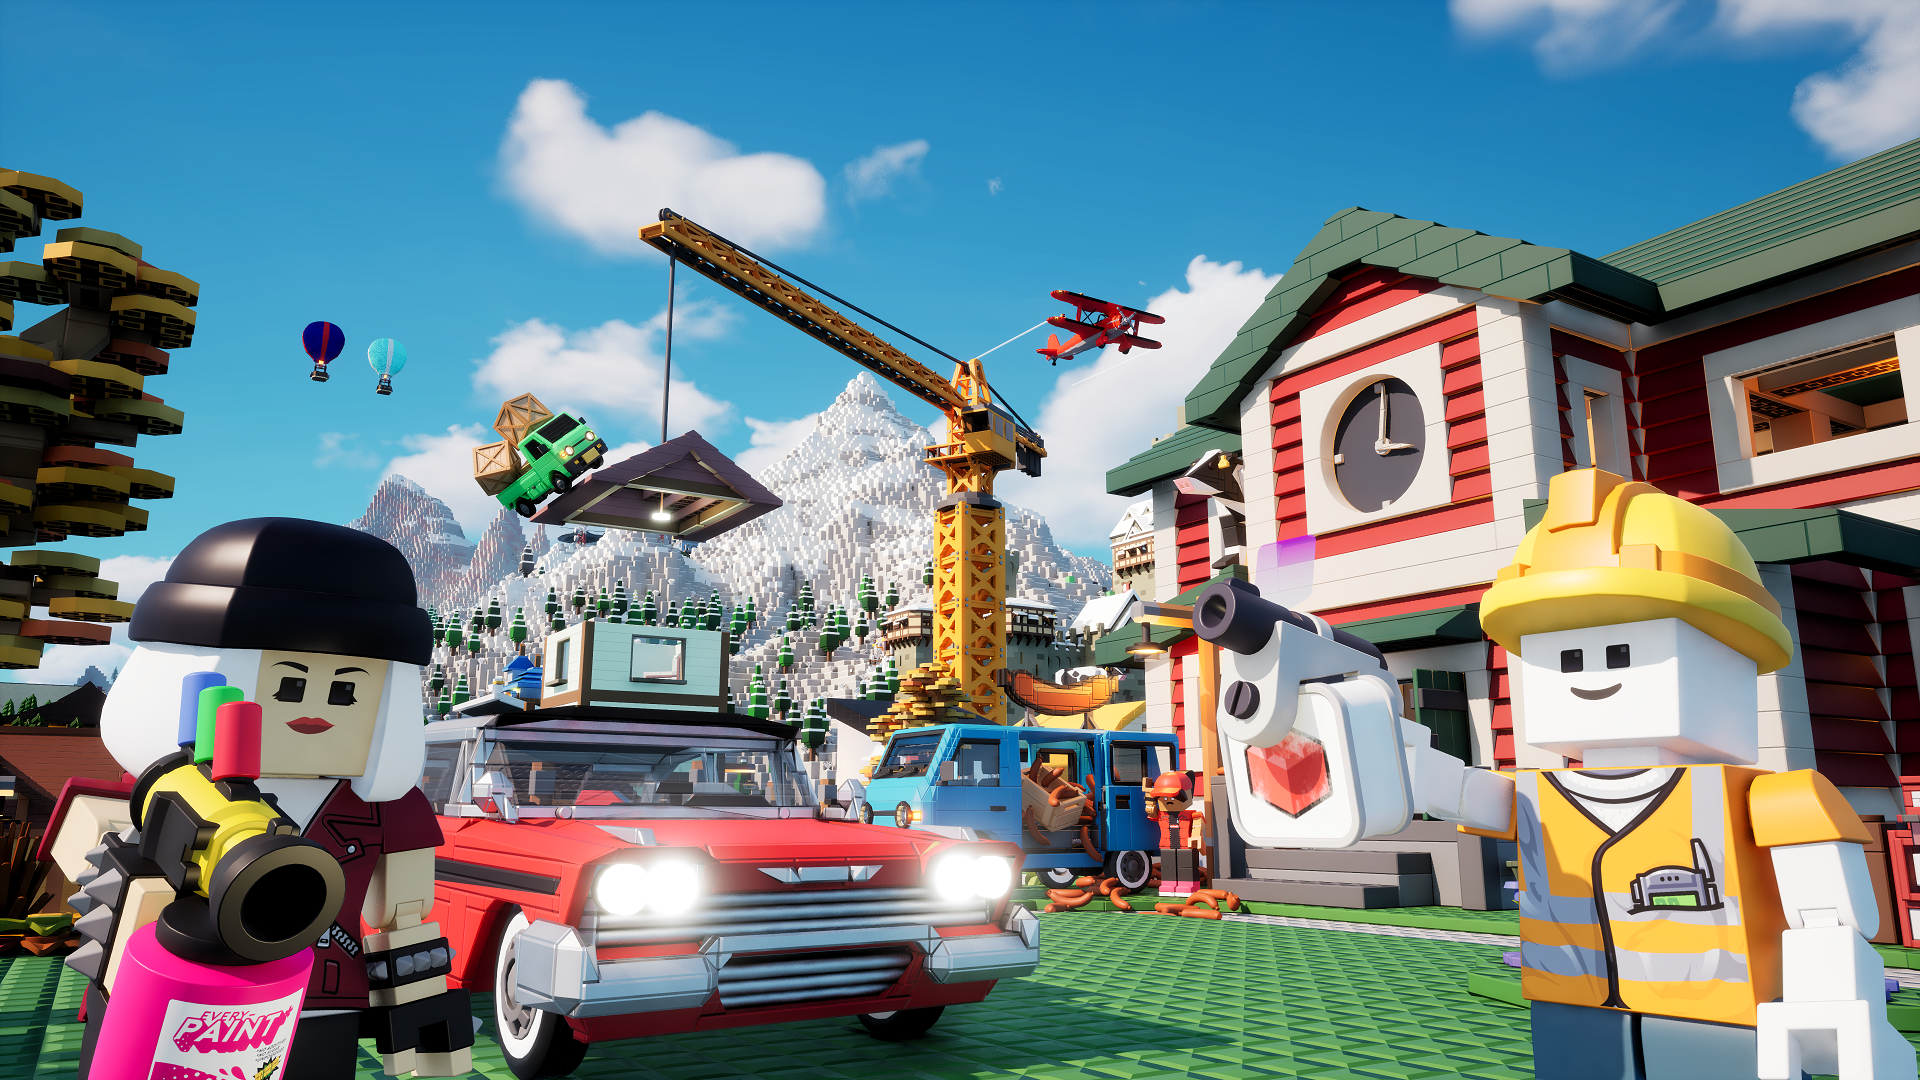
Today we're going to be dipping our toes into two big Early Access features that haven't been discussed much on the blog: Wires and Vehicles. We'll also go over all the other cool stuff that the team did in 2024!
But before all that, we have an announcement: In February, we'll be joining the Steam Next Fest with a time-limited demo! During the fest, you'll be able to get your hands on an early preview of all the new creative features we've been cooking for the past few years!

The Next Fest build will be our Creator Demo, a build of the game that will focus on building and creators. The demo will be available from February 24 at 10 AM Pacific to March 3. We'll share more on this demo as we get closer to the Fest!
To be notified, add Brickadia to your wishlist on Steam.
Building Tool Improvements
Offsetting From the Plane Lock Plane
Follow Mode and Precision Mode
New "arcball" rotation controls
Reorient rotation still exists
In follow mode, player now faces the brick
Negative Spacing
Upgraded Pie Menu
Default "Loadout" of Bricks
Correct Grid Snapping (To Edge/Over Edge)
Align Half-Plate Thick Bricks To Surface
Inventory is Single-Quickbar Again
Entities
Improved Catalog Organization
Wires
The Solution
The Connector
Buttons, Targets and Switches
Logic Gates
Wire Types
Various Examples
Vehicles and Contraptions
Joints
Joints Being Used Ingame
Seats
Driveable Cars
Various Examples
Other Stuff!
Procedural Brick Generation
Weapon Resources
Homing Missile
Pole Resizable in All Directions
Other New Bricks
Skirts and Dresses
OK That's Everything
Building Tool Improvements
I really should write a full blog on how these work but here's an outline of what I have at the moment.
Offsetting From the Plane Lock Plane
Plane lock was added back into the new mouse building controls with a new feature: You are now able to offset from the plane lock plane in plane lock by scrolling the mouse.
This creates this cool line between the actual lock grid and the raised one. It has a bunch of uses.
Follow Mode and Precision Mode
In a huge surprise to absolutely nobody, I remade Orbit Mode and Detached Mode. They are now renamed to Follow Mode and Precision Mode. These modes share essentially the same codebase with different keybinds. However, several things work much better:
New "arcball" rotation controls
The rotation in follow and precision mode now offers an "arcball" rotation scheme when you hold ctrl, inspired by that offered by games such as Space Engineers. What does "arcball" mean? It means rotation is now relative to the surface you're looking at. Left/Right/Up/Down will all rotate the surface 90 degrees to point in that direction without affecting other axis, while the additional rotate buttons will turn it counter-clockwise and clockwise. Take a look:
Reorient rotation still exists
Holding R still gives you reorient controls. Tapping in a direction will rotate your brick to face in that direction, exactly as is offered by the mouse controls:
In follow mode, player now faces the brick
Finally, as a last little polish feature, your player will now "look" at what you are doing while you're in follow mode. Other clients see this too.
Negative Spacing
A very oft-requested feature since we added the ability to row-drag templates, and especially since we gave testers the ability to grid and volume-drag them has been negative spacing. Negative spacing allows you to overlap instances of the template you're dragging, making it possible to place a template that interlocks with itself.
The simplest example of course is a brick wall like here.
But there are more advanced cases, especially when you're placing wires (which we'll talk about in a bit) which auto-attach when overlapped with the same brick type attached within the template:
Upgraded Pie Menu
The tool pie menu now has descriptions.
When you select the Placer from the pie menu, you'll select the last brick you had selected, or else the first brick found in your inventory, or else a 1x1f will be thrown in the TEMP slot and you'll select that.

Default "Loadout" of Bricks
The quickbar now has things in it without you having to open the catalog and add them, which greatly confused people who came by our booth when we showed the game at a convention in November.
The default loadout is very transparently the minimal kit for building a car (don't worry, we'll get to cars):

Correct Grid Snapping (To Edge/Over Edge)
In alpha 5, when you are in one of the keyboard building modes (follow/precision as they're now called) your brick has never actually moved or aligned to the grid properly. Thankfully, the only way to notice this was to try and use a micro-brick, or some other brick that wasn't large enough to align to the grid.

In mouse mode, Alpha 5 can align your brick the way we intended - to the nearest edge of the aimed-at grid cell. It's only follow and precision mode that are broken (actually, quite a lot of the Alpha 5 building is broken).
What follow and precision mode actually should have been able to do was move bricks that are smaller than the grid cell on the move axis "to, then over" the grid cell's border, which oftentimes is an uneven movement per button press and so can't be done by simply offsetting the brick each key press. This corrected "to, then over" movement is how it works in Early Access.
Align Half-Plate Thick Bricks To Surface
When you have the plate grid alignment mode selected (you literally must give it a try!) try aiming at the surface of a micro-brick or some other surface that does not align to that grid in Alpha 5. Your brick will float.
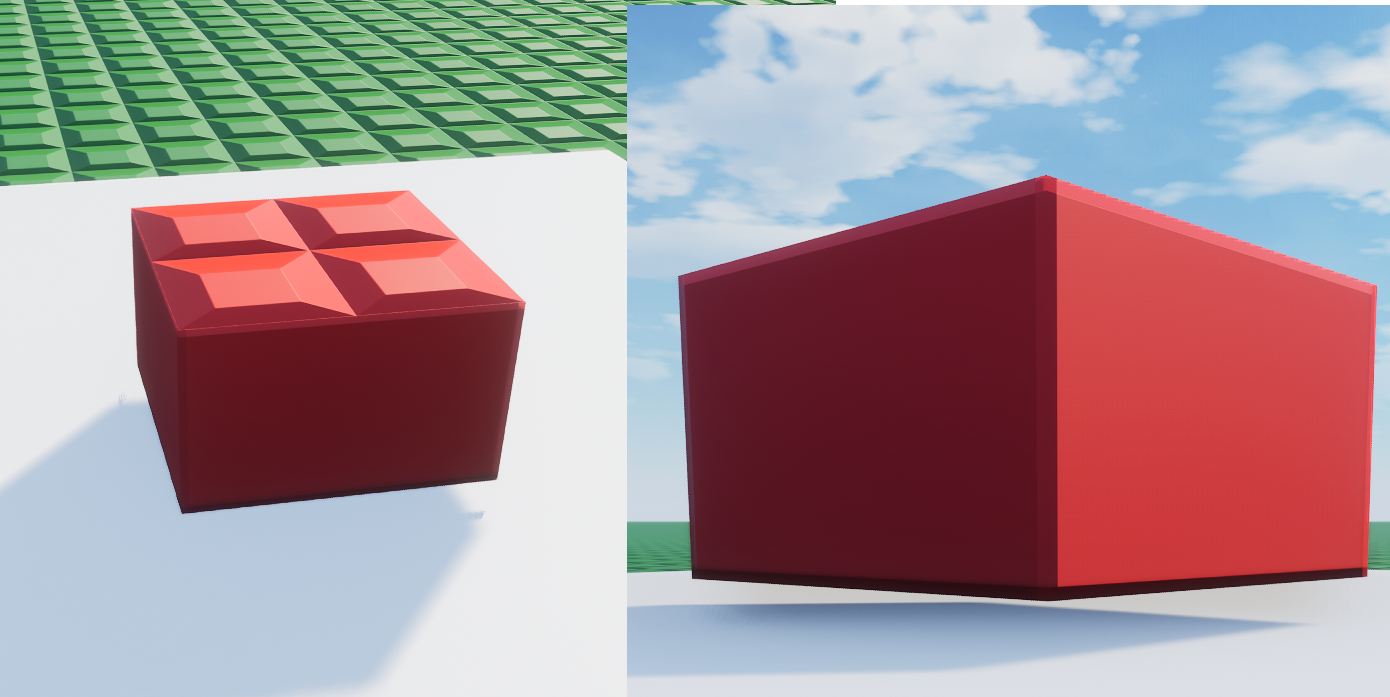
What's worse is that this can be hard to notice from a distance, so you get done building something and then find it floating an uncorrectable (1-2 unit) distance off the ground.
In Early Access, your brick aligns to the depth of the surface you're looking at, even in Plate mode, as long as it isn't inside the bounds of a brick. So your micro-brick will actually place against off grid surfaces in Early Access:
Also notable here, but easy to miss - resize dragging moves the size up to the first grid edge for the first resize increment, then expands to fill further grid cells.
Inventory is Single-Quickbar Again
Many of you commented on the section of the last blog post saying that the multiple quickbars and increased inventory size may be difficult to deal with for new players. This is exactly what we found during testing, so they've been removed.
Entities
Since adding entities, we have added exactly two (2) entity types so far.
The first is a ball that can be painted and resized. As always, I forgot to add a size limit.

But then we have the current main use case of entities: Wheels. Wheels make perfect sense not to be bricks - they get to have proper analytical collision and they do not waste the server's processing power managing another brick grid. There are countless wheels in the game so far and here are a few of them:


Improved Catalog Organization
Confidentbottle has improved a bunch of stuff relating to the organization of the default catalog. First and foremost, the Entities tab is gone as there were not enough entities in the game to justify it. Instead, the Bricks tab is now an Objects tab:

Categories have been reordered to make more sense, with bricks you'll want to use first prioritized rather than the alphabetically ordered sets of Alpha 5.

Also, Micro-Bricks now have their own tab and are actually ordered sensibly, meaning you don't have to scroll right to the bottom to get at the regular cubes.

All the magical gameplay bricks and entities are spread across 3 categories, rather than ending up hidden in Special;
- Physics stores bricks and entities meant for making physics contraptions.
- Mechanics stores bricks and entities meant for making interactive machines or experiences.
- Logic Gates stores the logic gates provided to users of the wire system.


Wires
Back when we were thinking about the design of our still TBA scripting language, Behaviors, we very quickly realized that most of our players wouldn't want to have to use it to do simple things. No matter how approachable you make your scripting system, the more it can do, the more complex it has to be - and the more daunting it becomes to beginners.
But why should they have to learn what a function is, what bindings are, what symbols and variables and booleans and parameters are, just to make a switch open a door?
Or even to make the correct combination of switch values open a door?
These are use cases so simple that they shouldn't even have to go through scripting at all.
The Solution
If you've read previous blog posts, you already know this bit, but for new people I'm going to go over it again;
Conveniently, everything in Brickadia is data-driven - i.e. has a state that can be controlled very directly by reading and changing variables. Let's simply designate some variables outputs, and some variables inputs, and let players designate "links" between a given output and multiple inputs somewhere else. When the output variable changes, linked input variables are set to the same value.
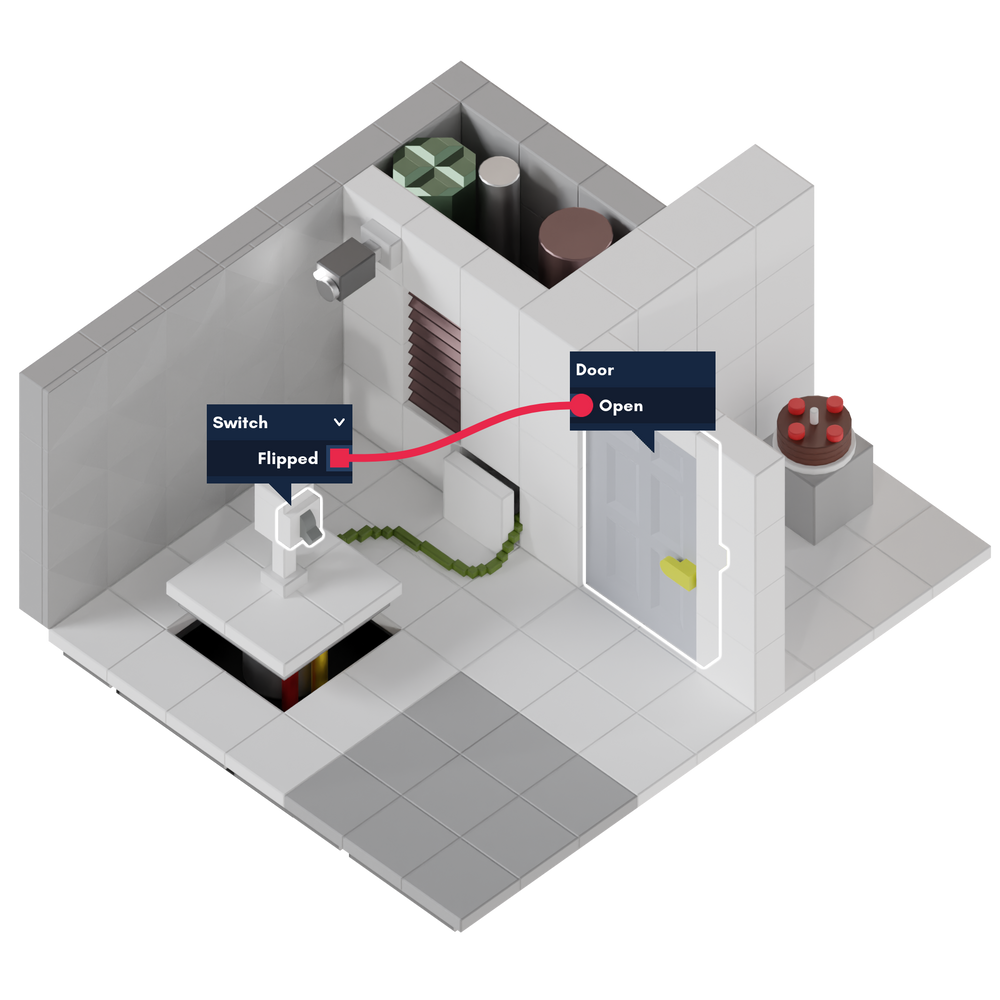
This "link" is all a wire is.
The Connector
To attach wires, we have this tool, the connector. The connector lets you connect wires between physical ports in 2 clicks. For bricks without those, you can select your source or target port from a list instead:
As always, we've added a bunch of QoL features to the Connector to make it super easy to work with. You can hit R to restart connecting from the last port and hold Ctrl to multi-connect. The GUI has a quick fuzzy find search where you can press enter to choose the first port in the current results.
You're probably wondering if there's a way to organize these wires better. There is! Rerouter bricks. With the Rerouter brick, you can always organize your wires super nicely.

Buttons, Targets and Switches
We have 3 inputs to the wire system right now, none of which support animations yet:
Switches can be clicked to toggle their output signal between off and on. There are a lot of use cases.

Buttons emit an on signal while your mouse is held and an off signal otherwise. Originally, they had an on-off time, but the "holding" functionality is far more versatile. For advanced use cases, you can even get a count for how many players are holding down one button.
Targets emit an on signal for a certain amount of time when shot with a projectile or hit with a melee weapon. If hit while on, their current "on" signal will be reset to that amount of time instead.
Logic Gates
There are a ton of gate bricks with physical ports (most of which you see in the catalog above) that you can route your wires through. The system is turing complete, and you can use it to do most things.
As an example, we can use an AND gate to make a door that opens only when two switches are flipped.
Or an OR gate to make an item collectable when one of two buttons are held.
Wire Types
You've probably noticed all the wires are red. Can they be other colors? Yes, they can!
A wire's color is determined by the type of data it carries. Red wires carry booleans, i.e. an on/off signal. But since wires can carry any property type, you can also send decimal numbers and do operations on those.
Since wires automatically convert between all the basic types, you can send boolean values into ports that take numbers (as 0 or 1) and vice versa (!= 0 is 1).
In addition to this, and as you saw above, everything always converts into a string - which is how we can display the value on interact at the end.
With integer numbers, you can do bitwise operations. So here's something more advanced that most of you won't ever need to do: With a bit of work, we can send 8 different booleans as a single integer value.
Various Examples
You can make lots of things in Brickadia with just wires and no scripting. Eventually, though, wiring contraptions together becomes more of an art itself. There are some things you really should be doing with scripting later. But of course, you don't have to, so maybe, just for fun, you don't.

The UX of wires is basically finished with just some polish and additional features down the line.
Vehicles & Contraptions
You are all long overdue for an explanation of our plans for this, but there is a lot to go over so I will try to be concise here.
Joints
The first part of vehicles we implemented were the basic bearing joints, which currently remain the only joints in the game. Right now, they come in 3 flavors; Bearing, Motor, Servo. To attach a brick to a joint, you simply place it on top of the joint.

The Bearing (left) simply rotates freely with customizable damping (damping is the force with which the joint tries to slow to a stop while spinning). It's good for making hinges for doors, windows and other things, but it can't do anything advanced.
The Motor (center) is your workhorse powered joint. When enabled, it will spin with constant power you set. You can make something that spins constantly such as a platform or part for a total wipeout course, and you can even combine it with wires to make things like deathrun traps, fairground rides, and mechanisms.
Finally, the Servo (right) is what you use when you want something to move to a specific position and to try with user-specified force to stay there. It can be used to make suspensions but is most useful when paired with wires, which you can use to make automatic doors, spinning counters, all sorts of things.
We have micro joints too!


Joints Being Used Ingame
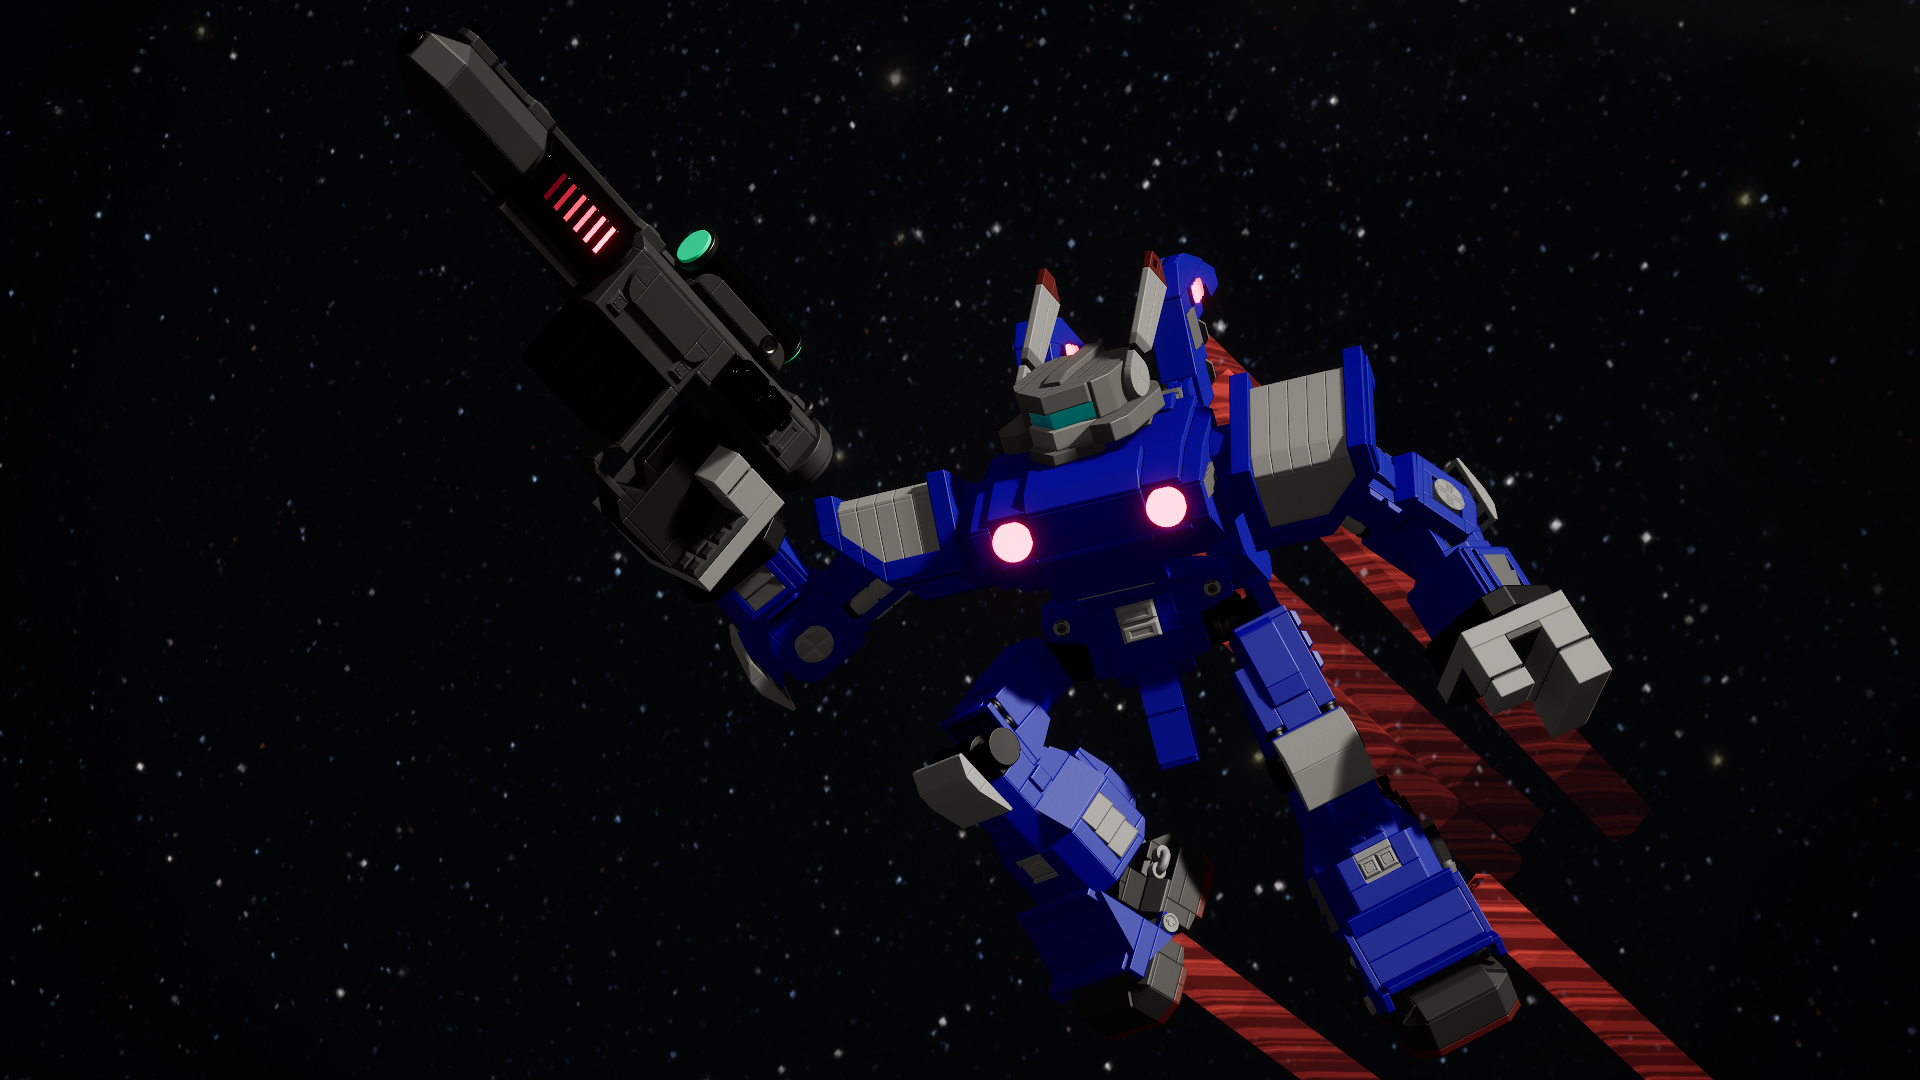
There are lots of use cases. Here are some images and videos from recent dev media.
Seats
The obvious next thing to make was some way to sit down and be attached to whatever ride/pseudo-car/other miscellaneous deathtrap you made. That comes in the form of the Seat, which you can click on to sit in.
There is not much else to say here. If you put one on a physics contraption it works as expected.
Driveable Cars
Again we are left with the problem of how to make versatile behavior possible without forcing the user to do a lot of work. And just so we're on the same page, programming good vehicle control is hard, easy to do wrong, and not even the first problem we need to solve.
The first problem we need to solve is how to allow a player set up their car, which they have built out of a lot of small little bricks, to drive in a way that resembles sensible.
To demonstrate the solution I came up with, here's what we want to drive:

It would certainly be quite a stretch to call this a "vehicle", but I'm going to anyway.
We need to mount the wheels, but there's immediately a problem. If we put our wheels on the car with a Motor, they wouldn't be able to steer. Motors only turn.
Enter the Wheel Joint, which can steer and turn. It even has a built in suspension.
Already this is starting to look more like a car. We still can't drive it, though. Nothing is controlling the wheel joints.
There are many different schools of thought in sandbox games for how you tell the game how the player's controls control the car, but me? I'm partial to the approach taken by Robocraft and Spore (a creature is technically a vehicle, right?). That approach being: The game should figure out as much about how to drive and steer your creation as possible on its own, without you needing to be involved in every little decision.
But this is Brickadia, so we also want modularity. We want to be able to entirely exclude functionality we don't want, like gear switching and air control. And we want to be able to tweak things that make sense to tweak, like acceleration, braking force and top speed.
This means that first of all, we should add the least additional functionality to the Seat as possible. We should simply have the Seat emit a Control signal that we can use (or decompose into wire outputs) somewhere else.
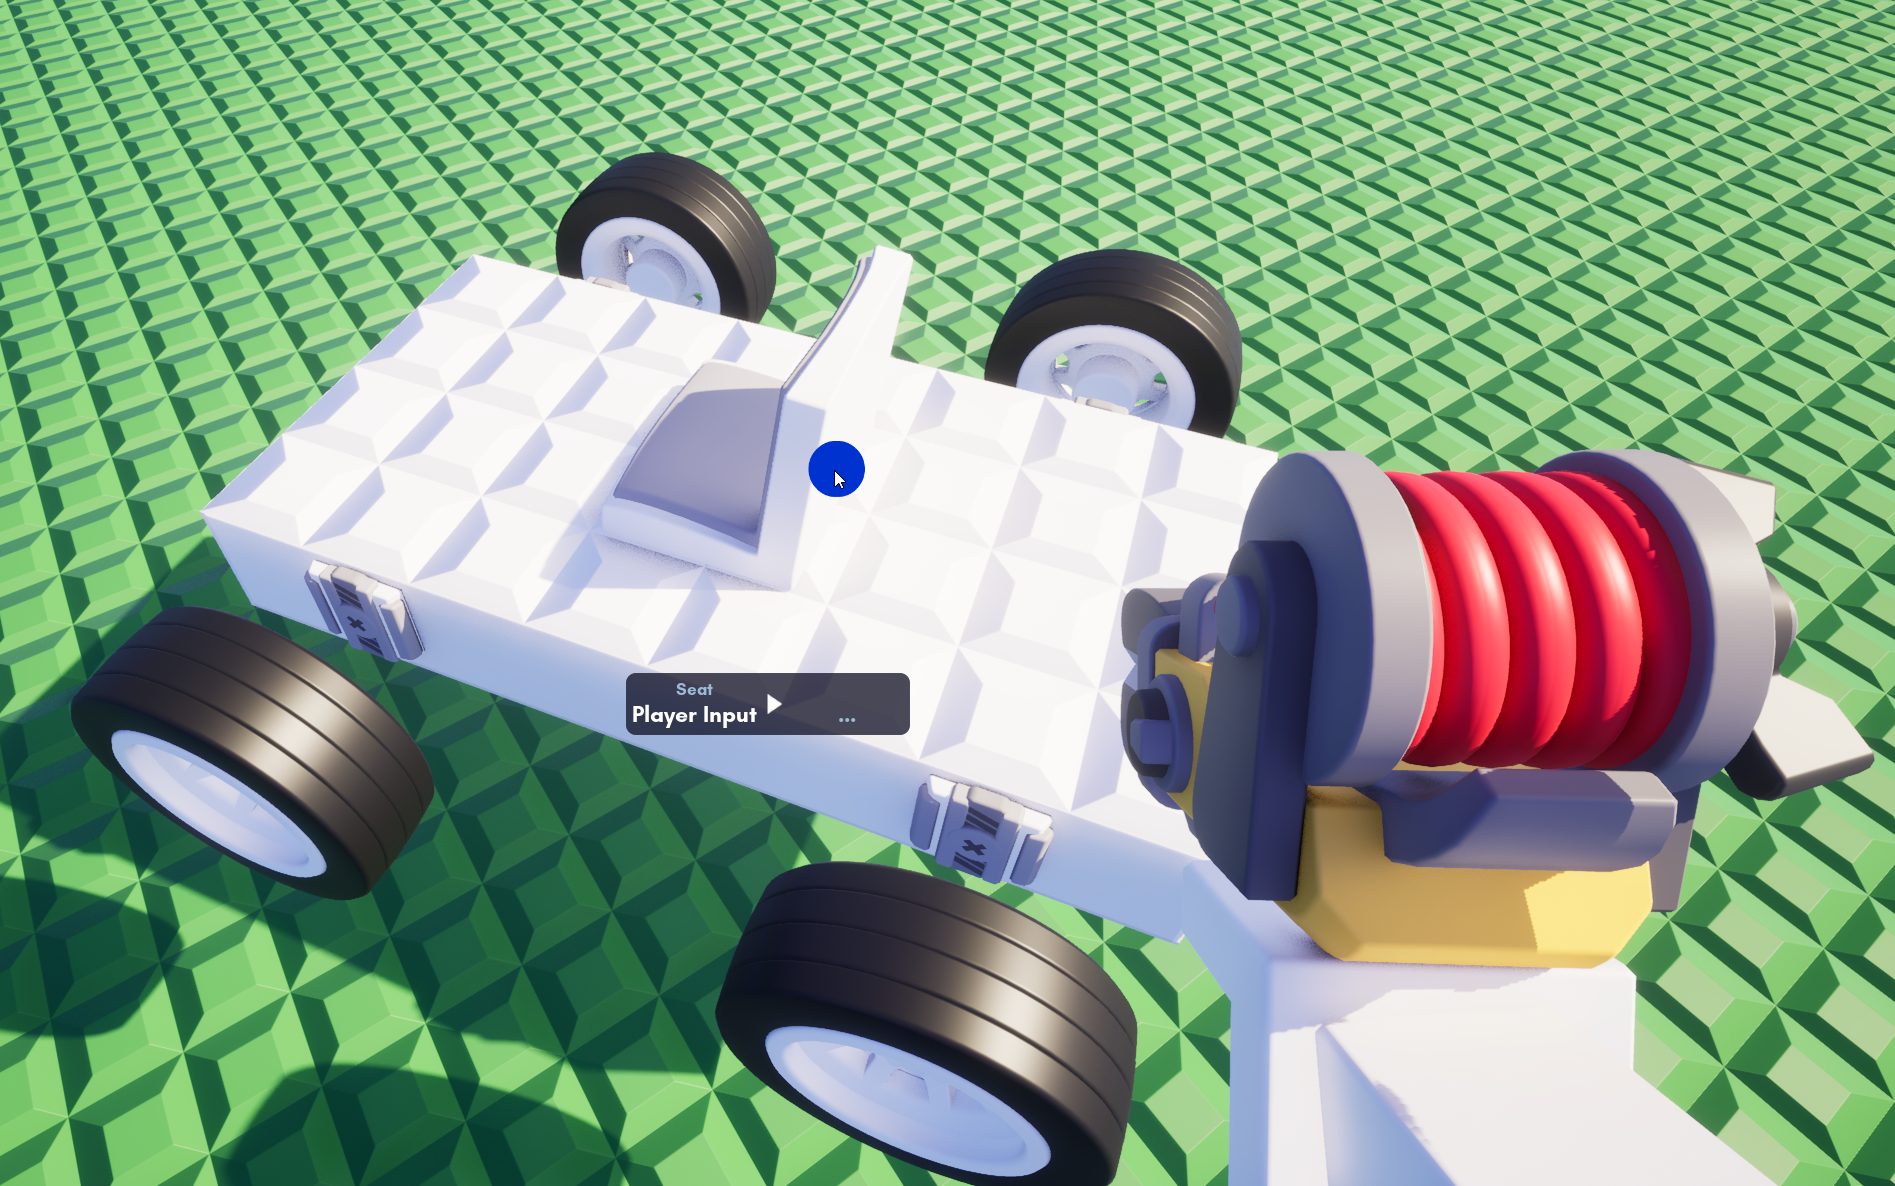
What do we attach it to? Introducing the Wheel Engine.

The Wheel Engine's placement designates the forward direction for our vehicle, and also where the engine noise comes from. This means that even if the seat were placed like this:

The vehicle would still drive correctly. In fact, to make sure, let's leave that there. We'll put another one on the other side. For balance. And we'll also wire up the driver's seat.

The driver sits on the left side, so they're not in danger of being hit by traffic. I'm so glad we found a way to solve that design problem.
By the way, you don't have to use this big bulky engine if you don't want to. There is a small alternative that has all the same features.

The engine gets very happy when we sit down in the seat and makes a noise. But we can't drive yet because we gave it no control over the wheels.
How do we do that? It's easy. The engine takes the seat's input signal and translates it to a wheel control signal that we can wire into the wheel joints.
Let's do that now.

And now it drives!
And no, extremely keen eyed readers, you eyes are not deceiving you - the engine is calculating a steering box containing all the wheel joints and doing Ackermann Steering, which reduces wheel slipping and is what you find on most vehicles in the real world:
All this, too can be combined with wires. The engine is fully wire controllable!
Various Examples
The testing team have built vehicles that are, somehow, even better than mine. Here are some videos of their adventures:
Other Stuff!
Procedural Brick Generation
I have just finished the brick composer, a dev tool we can use to create new procedural brick types.
Without going too deep into detail, the brick composer is able to take a few carefully made mesh parts parts in blender, like these:

And by arranging them and retexturing them, create a fully realized resizable brick.
This generator is super powerful. It can already be used to make all but 3 of the 28 procedural brick types currently in the game. Of that 25, 16 (including all of the micro-bricks) can be made simply by opening Blender, cutting up the default cube a little bit and throwing some Dyn texture markings on its faces:
We plan to use it for many more bricks including the resizable slider joints.
Weapon Resources

Weapons now have a "resources" system.
There are several types of weapon ammo in Early Access:
- Arrows, used for Bows and Crossbows.
- Black Powder, used for old timey weapons like the Flintlock Pistol.
- Explosive Ammo, used for the Rocket Launcher & Grenade Launcher.
- Light Ammo, used for Pistols, SMGs and others.
- Medium Ammo, used for Assault Rifles, Machine Guns and others.
- Heavy Ammo, used for precision rifles.
- Magnum Ammo, used for Magnums, Revolvers, and the LAR.
- Plasma Ammo, used for heavy energy Sci-Fi weapons.
- Pulse Ammo, used for low energy Sci-Fi weapons.
- Shotgun Shells, used for shotguns.
But the resource system is made in such a way that weapon resources aren't just limited to ammo. Weapons can have individual resource values that they track to influence behavior - heat, charge, and more. There are no examples yet - for now, as a task, ammo is large enough.
Homing Missile
I saw a cool implementation of speed-conserving proportional navigation, a homing algorithm for projectiles, on the UE5 marketplace. It made me want to program my own from scratch, so here is Brickadia's very own homing missile in action:
Speakers
These come with an audio component pre-attached. Get some tunes on!

Pole Resizable in All Directions
I decided to unlock the pole's resizing and see what would happen. I expected the brick to break but with a few tweaks to the vertex count generation it's actually fine. So I've left it unlocked:

Other New Bricks
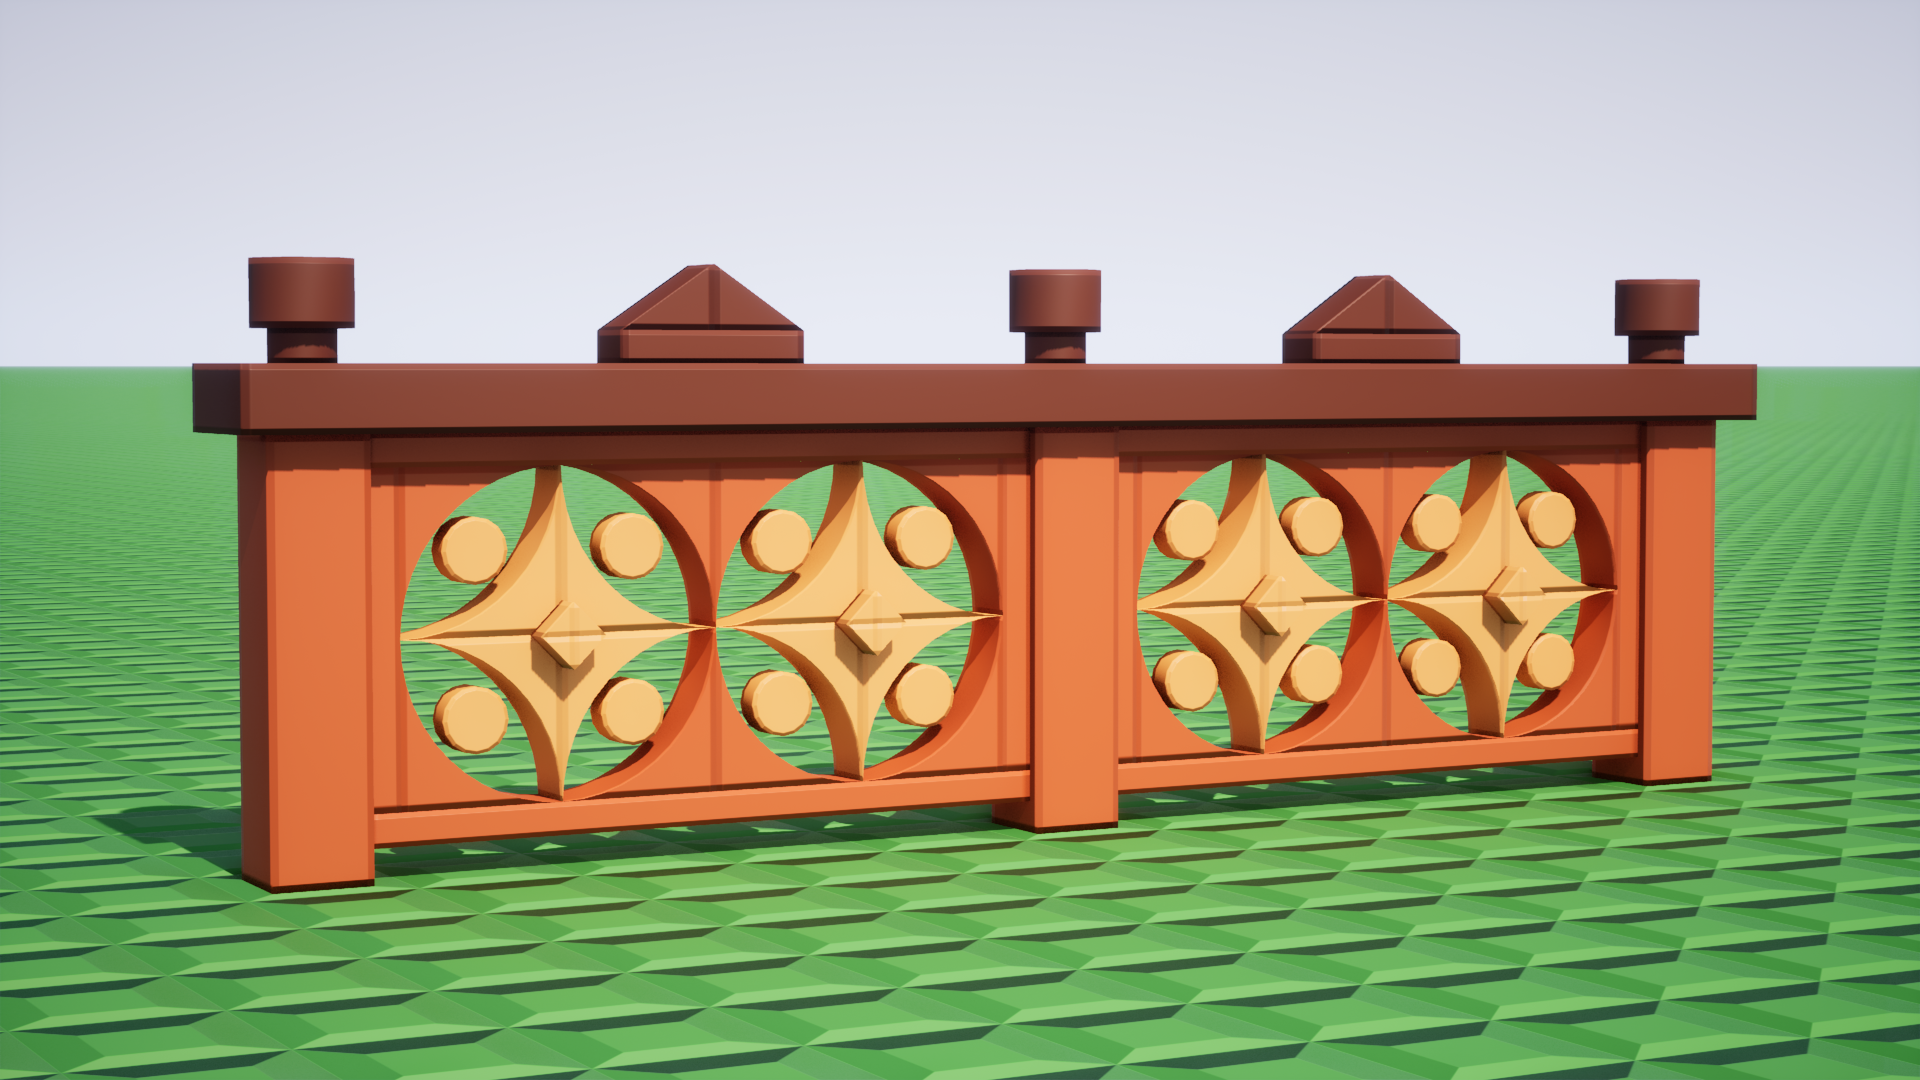
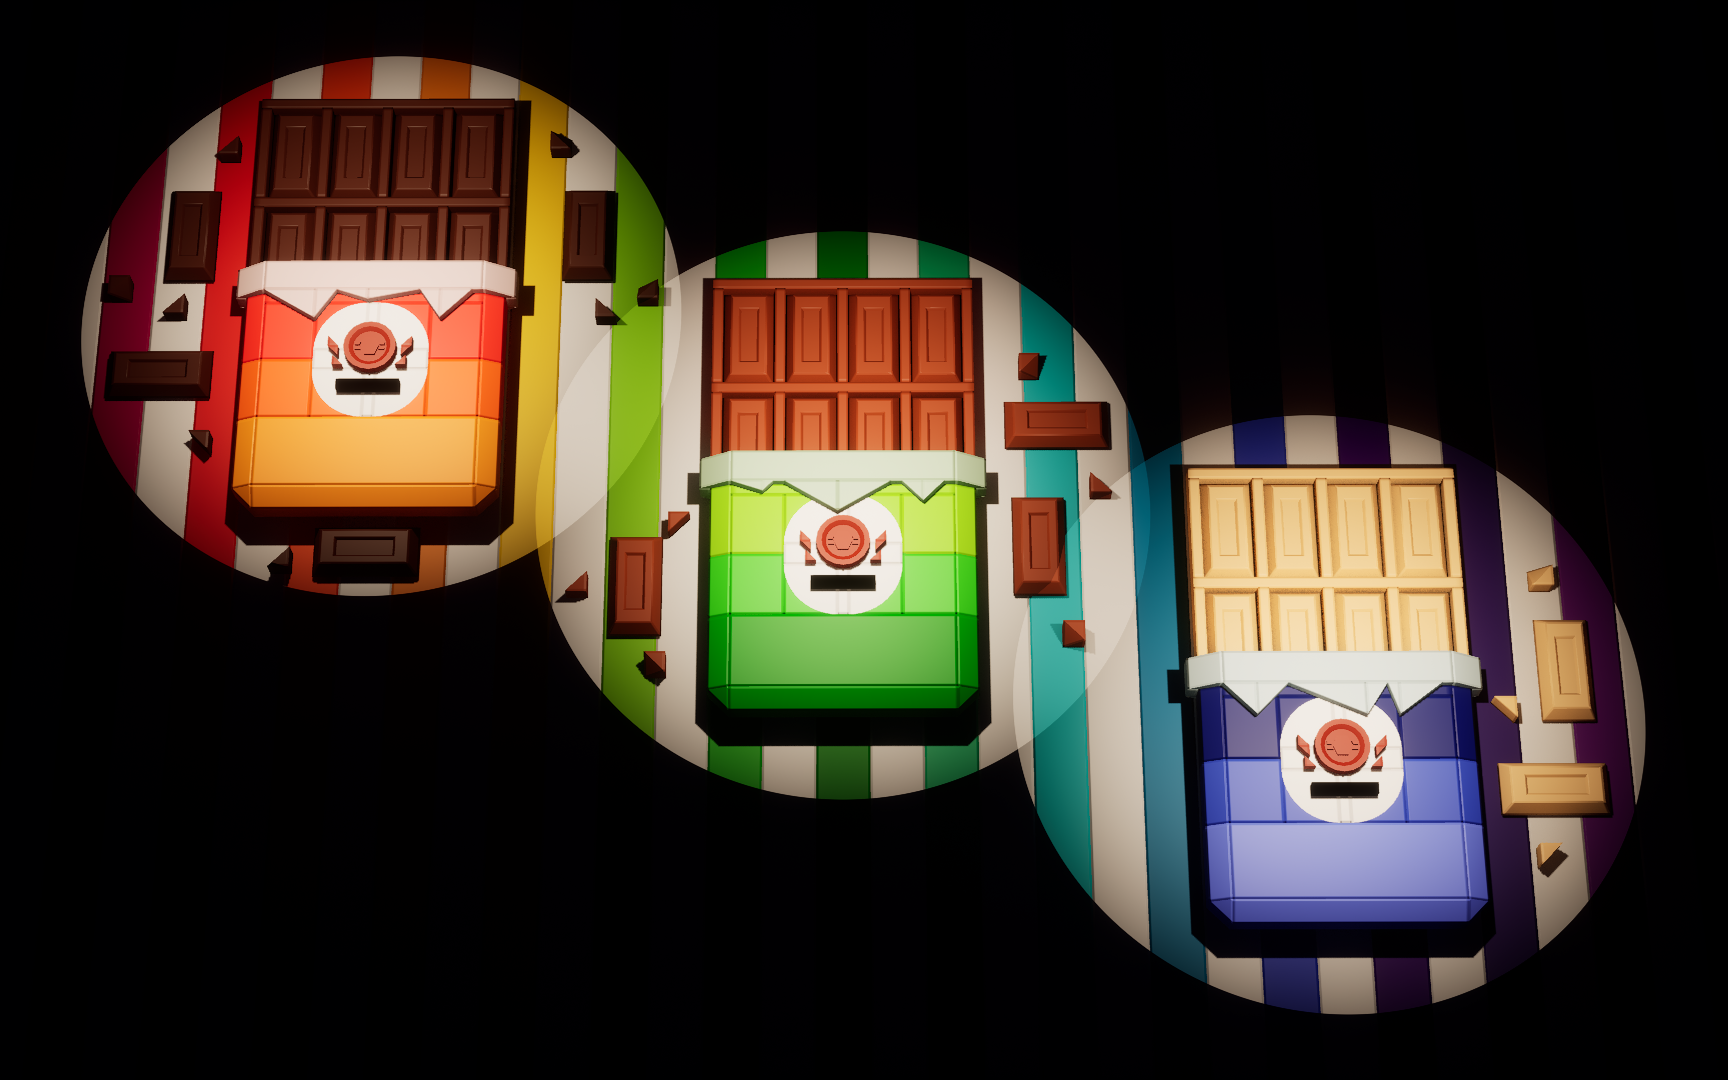
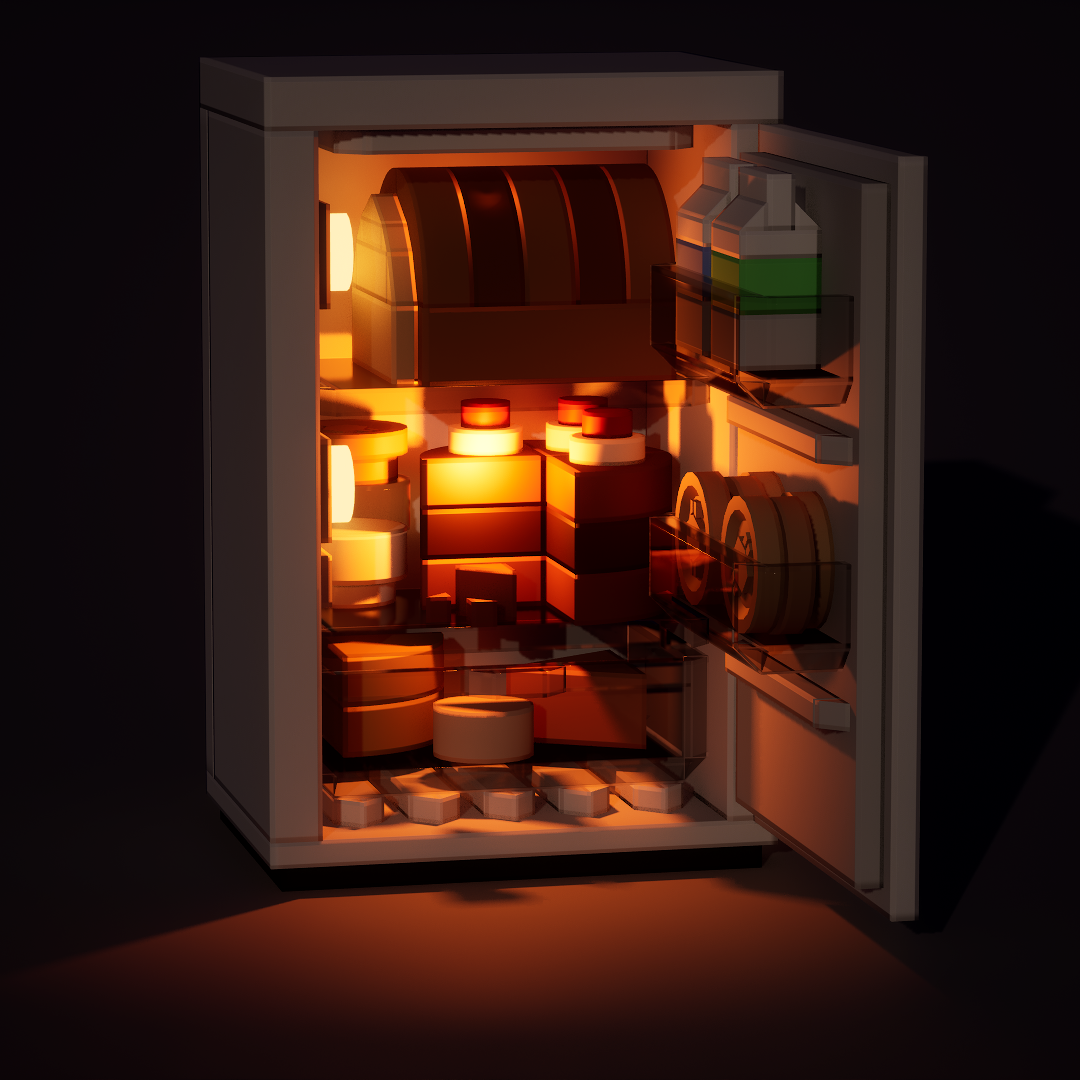
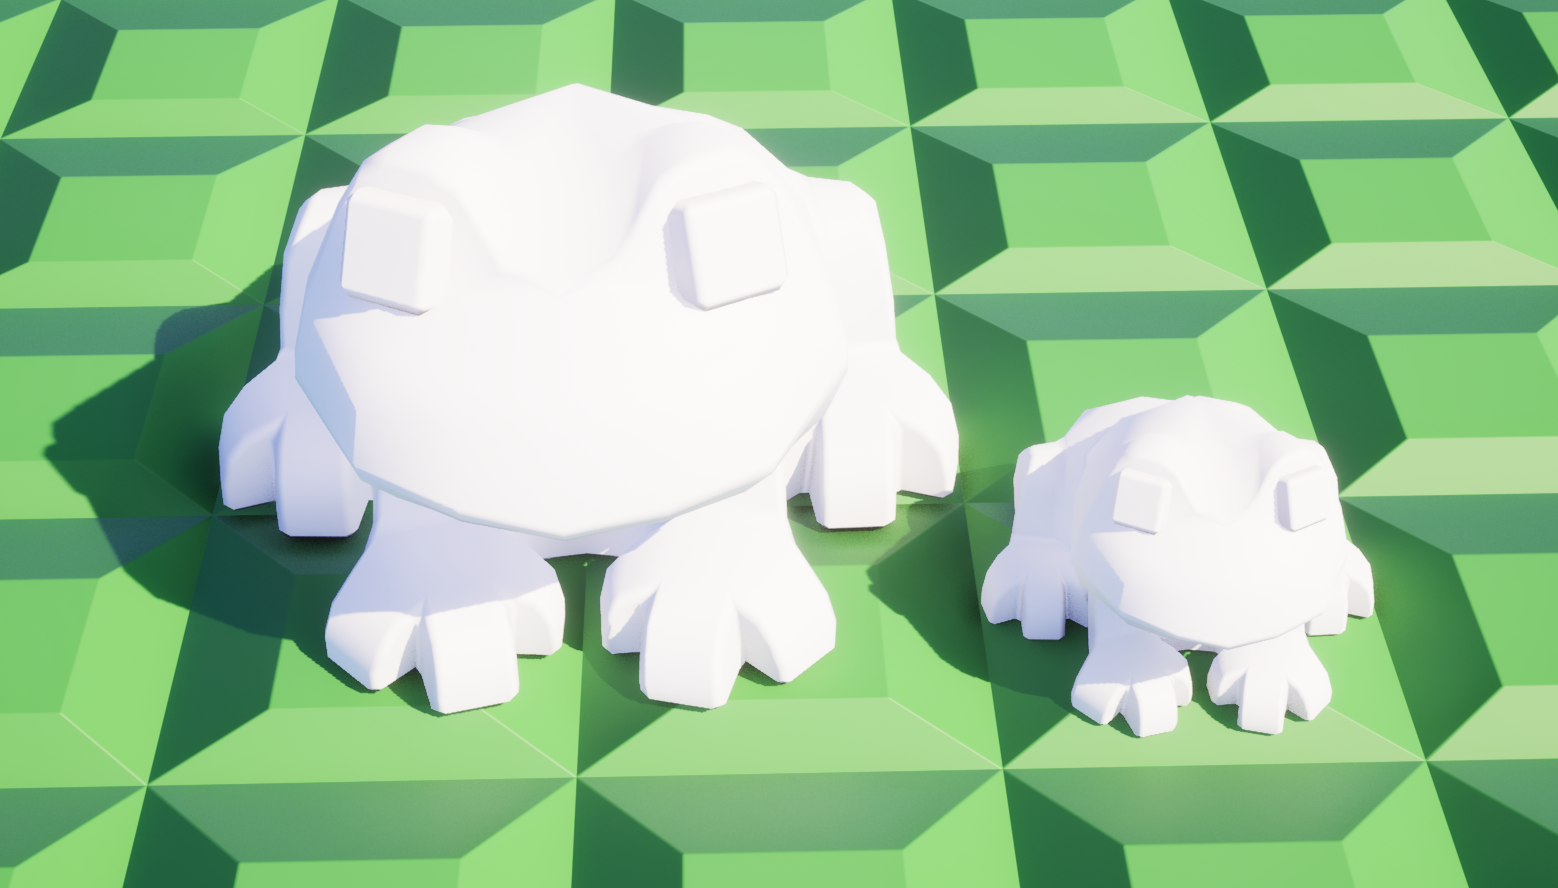
We have (a few) new decorative bricks that don't do anything at all!


Skirts and Dresses


