Developing Weapons for Brickadia, Part 1
Take a sneak peek at how our weapons are modeled, animated, and implemented in-game.
Over the course of this and the next devblog, I'll be taking you through the creation of a single weapon. This series won't be going into too much depth regarding design philosophy, barring some standardization we do to maintain a consistent artstyle between weapons. This post is mainly intended to give some insight into the process for creating content for Brickadia in general, even if some aspects differ between types (such as bricks, player parts, etc.) This week, I'll focus on how a Brickadia weapon model is set up so that it can later be animated and implemented in-game.
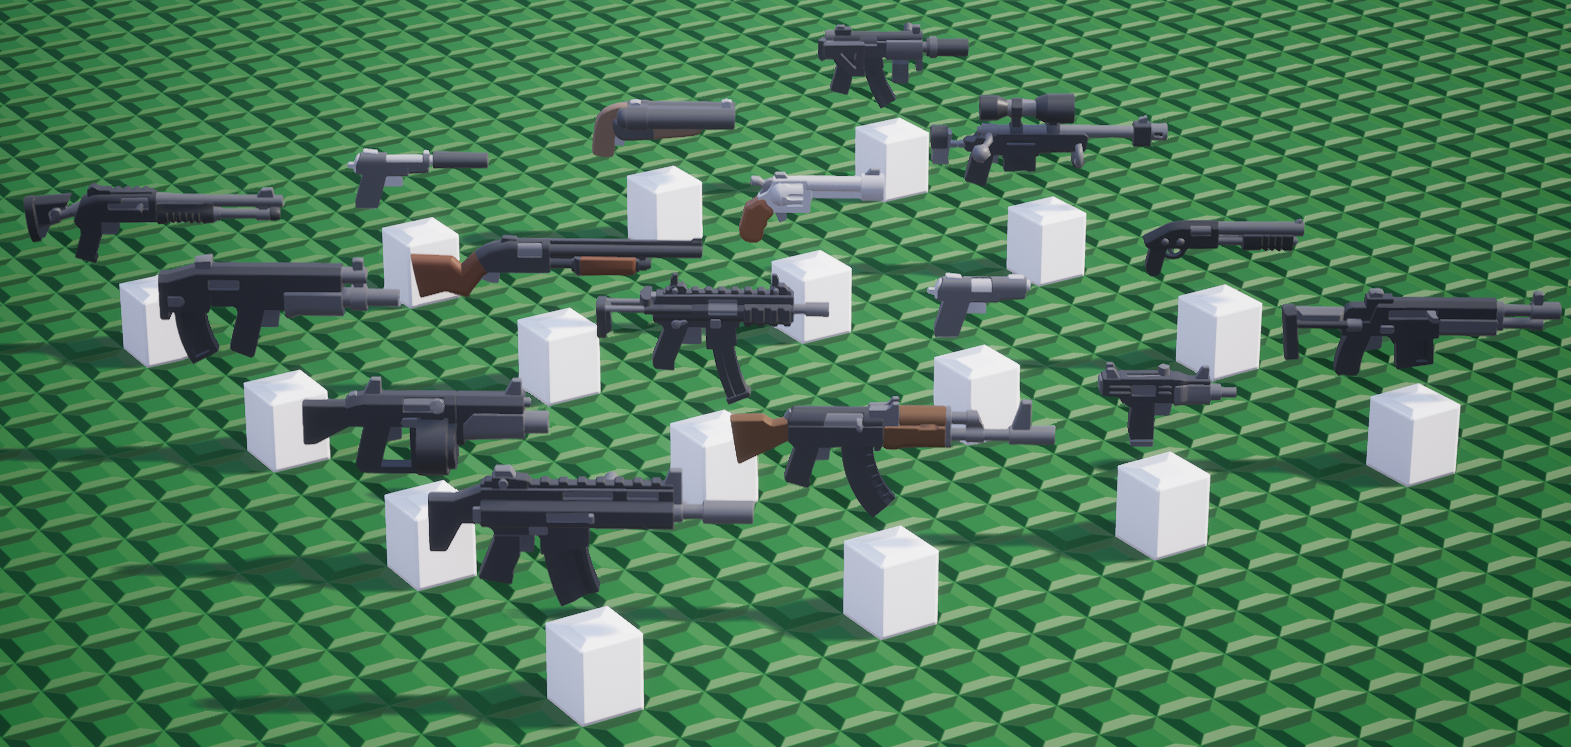
The first thing a weapon will need is a design for its model. This is heavily dependent on several factors, such as the role the weapon will fill, whether it is one or two handed, and what parts are required for it to be able to animate properly. Design philosophy is very subjective and what works for one weapon may not work for another. For this blog, I'm going to be creating a new starting weapon for our Arena pack.
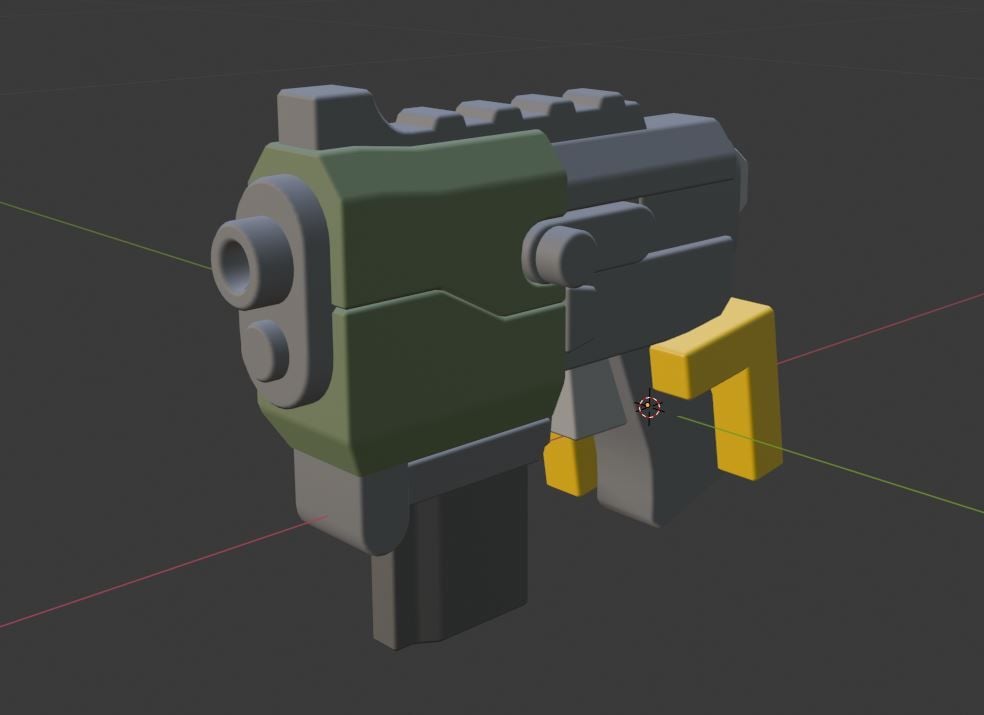
Arena weapons are generally meant to be oversized and bulky, both to make the weapon your opponent is wielding more easily identifiable and to give off a meaner aesthetic. When not working off of existing concept art, I personally like to look to other arena shooters for inspiration. Unreal Tournament's Enforcer pistol is a good starting point in terms of design. Primary fire causes it to shoot full-auto at a low rate of fire, while secondary fire shoots a quicker three-round burst with a long delay between refires. It can also be dual-wielded, so it would be best for our model to be identical on both sides. With our weapon planned out, we can create a model for it in Blender. I won't be going over how to model the weapon here, though; I'll just be jumping to the completed initial model.
Side note: It's possible to create initial weapon models in software other than Blender so long as the model can be imported into Blender later, but using Blender to finalize and rig the model is necessary. The Brickhead's rig which the weapon is constrained to for animation uses several Blender-specific addons.
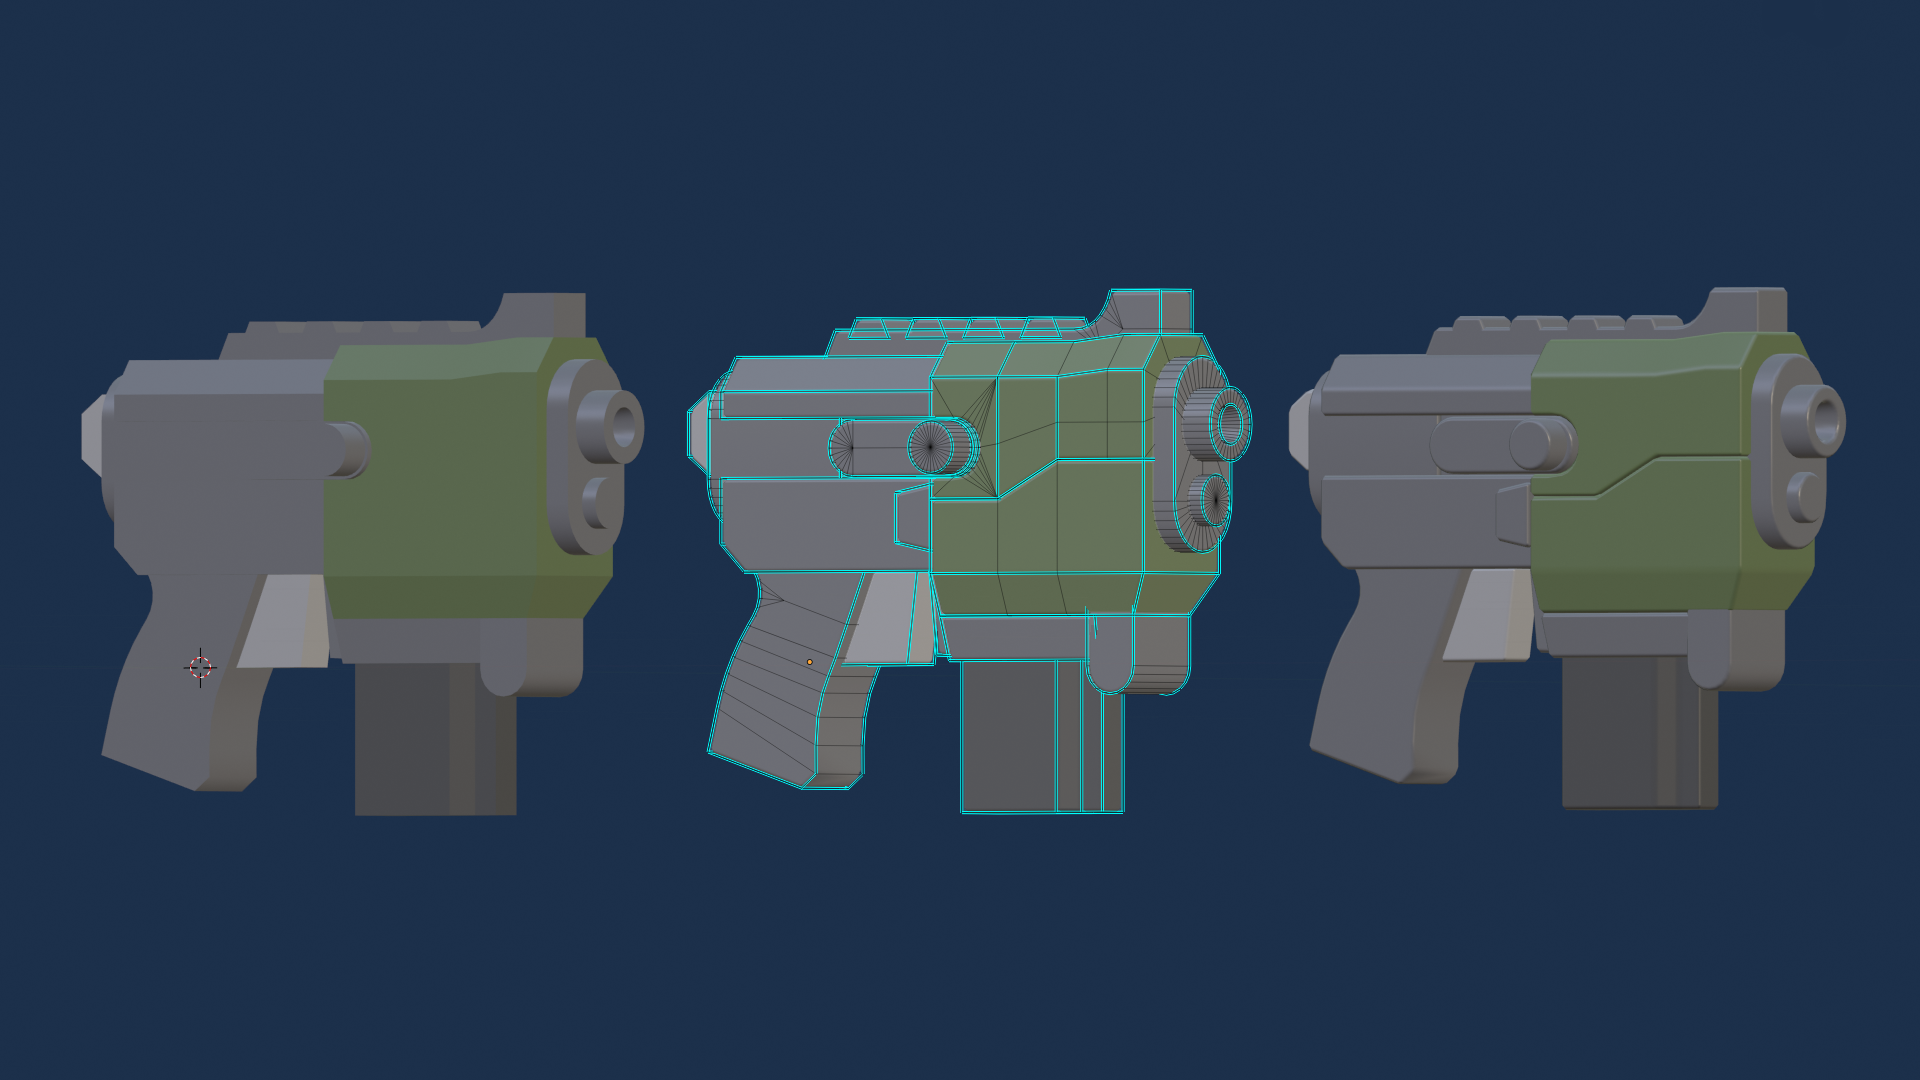
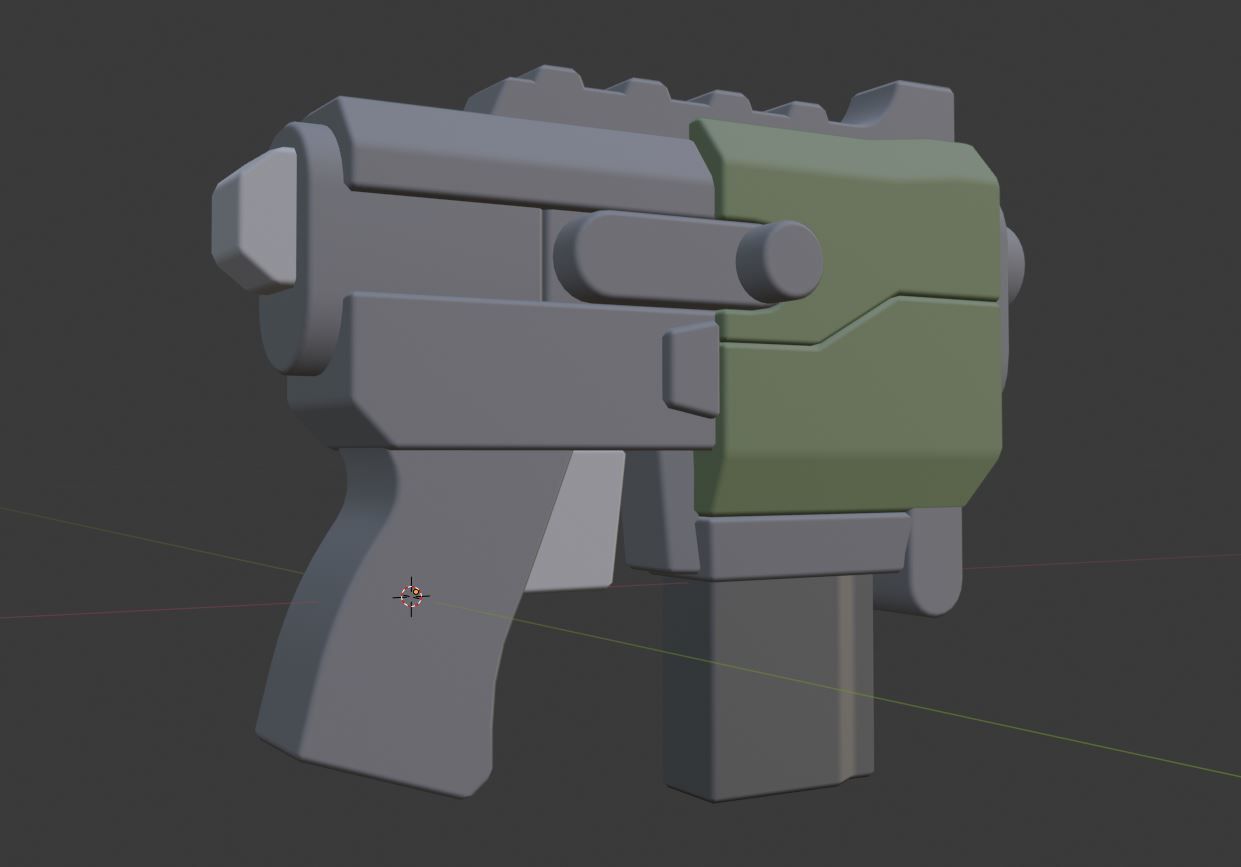
Here we have our model, which has been scaled to fit correctly into a Brickhead's hand using a reference hand model. However, a few things look off compared to other weapons; namely the materials and bevel. All Brickadia weapons use a standardized Blender bevel modifier for visual consistency and to improve how the weapons look in-game. Here is what the weapon looks like once we apply a bevel with our standard 0.0015 bevel radius:
Looking much better already, and with the added bevel comes a surprise! The front handguard area is actually separated into two parts so that the bevel forms a seam to add detail. It's important to be able visualize how individual components of a weapon will look once the bevel modifier is applied.
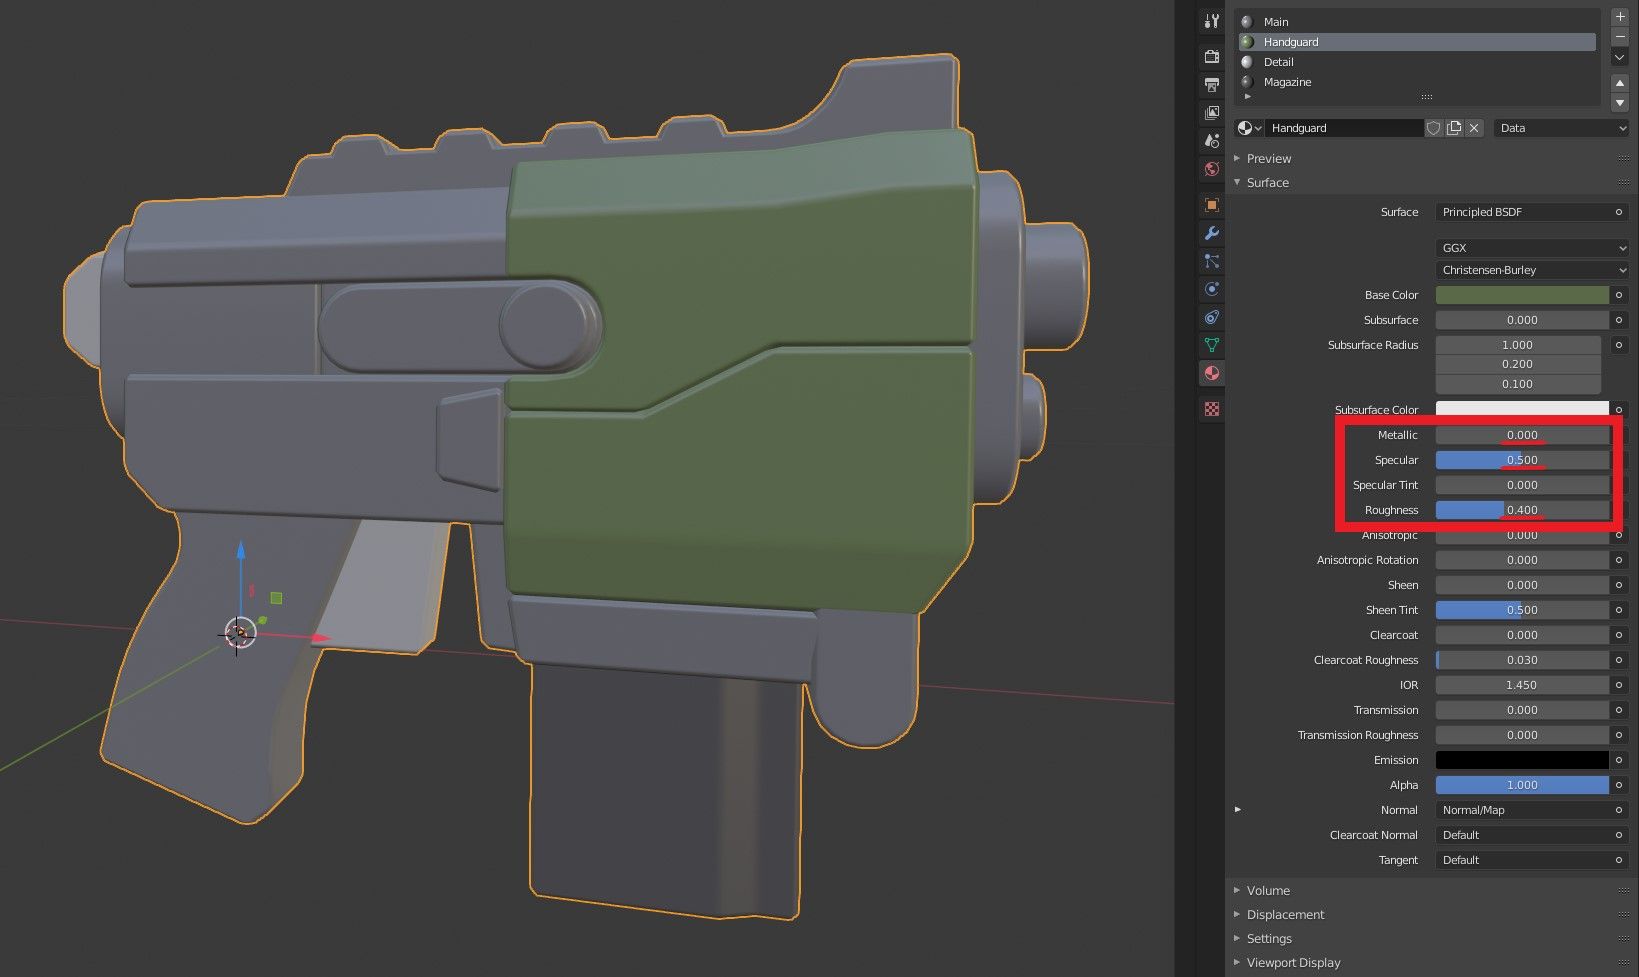
You may have noticed how flat and unreflective this weapon feels compared to those currently in game. This is because we still need to set up the materials of the weapon. This is pretty simple in practice, as all materials are packed into a single array of color data for optimization purposes when the model is exported to be used in Unreal Engine via our custom Blender add-on.
Unreal Engine materials use physically-based rendering, also known as PBR. In short, we just need to make sure that our weapon material's Metallic, Specular, and Roughness values are correct for it to be lit as desired in the engine. Setting Metallic to 0, Specular to 0.5 and Roughness to 0.4 gives the material a shininess that reflects that of plastic in the real world, helping to give a toylike feeling to an otherwise mean-looking weapon. Now our pistol looks pretty much the same as it will look once it has been imported into Unreal Engine.
As good as it looks, we currently have no way of animating the parts of our weapon. To accomplish this, we will need to rig the weapon to a skeleton (also known as an Armature in Blender.) Fortunately this isn't a complex task, as most weapons will not need to have any deformation of any kind. This means that mechanical parts of the weapon can just be attached to their respective bones.
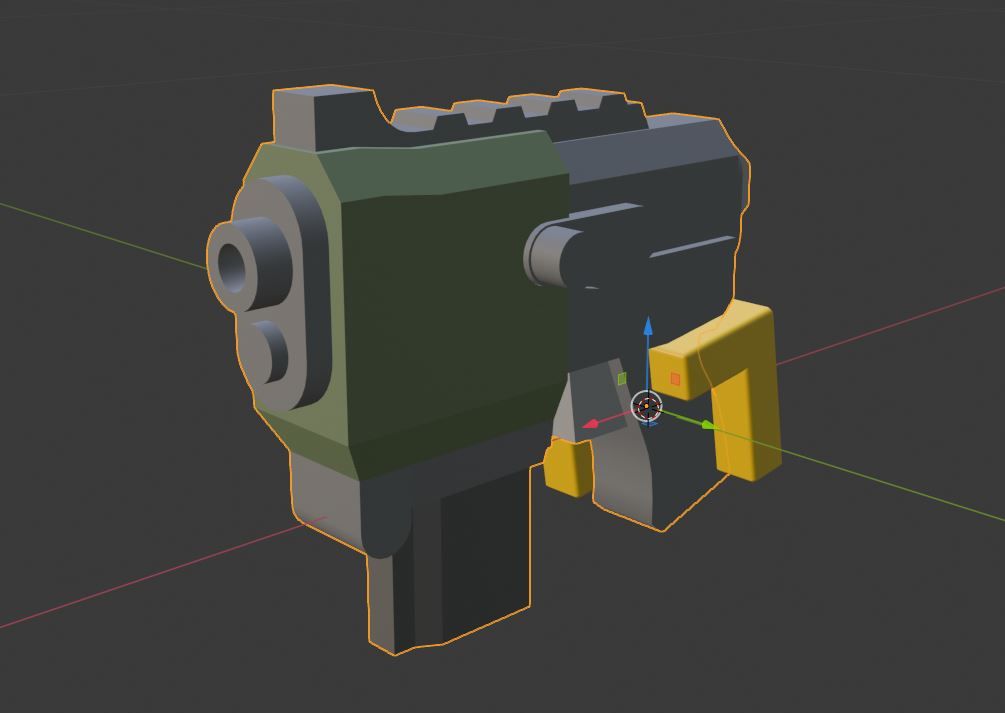
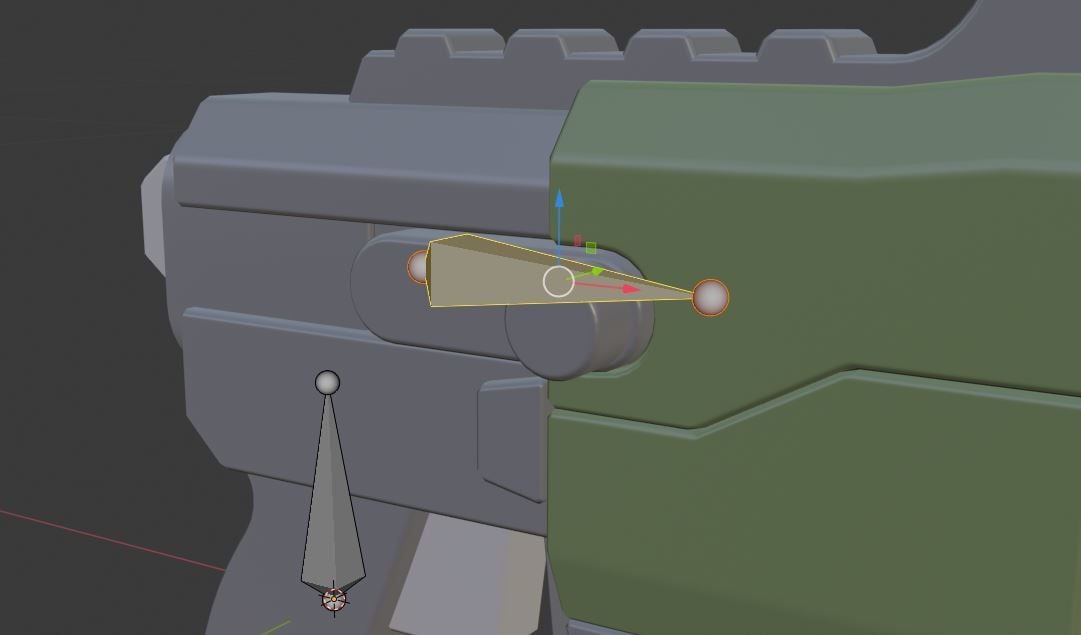
First, we need to create an armature. Once we've done so, we can figure out how many bones this weapon will need. As it is an arena weapon, and therefore will not have a reloading animation, we can omit a bone for the Magazine. This means all we need is a bone for the Handle and a bone for the Bolt. The Handle bone should be centered at the origin of the scene, and it is the location where the weapon is attached to the player's hand.
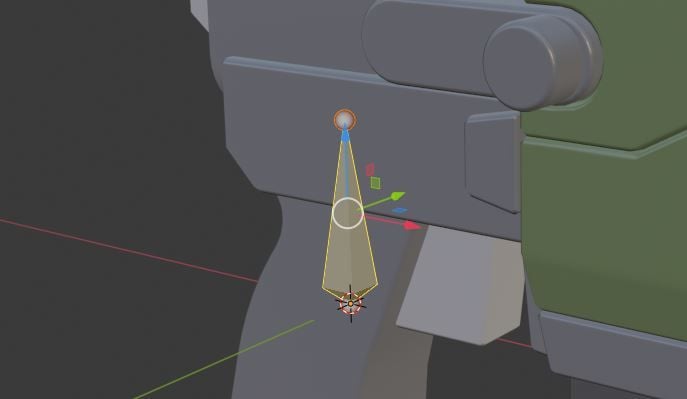
We can then create a Bolt bone which faces forwards, which we will animate to cycle backwards when the weapon plays a firing animation.
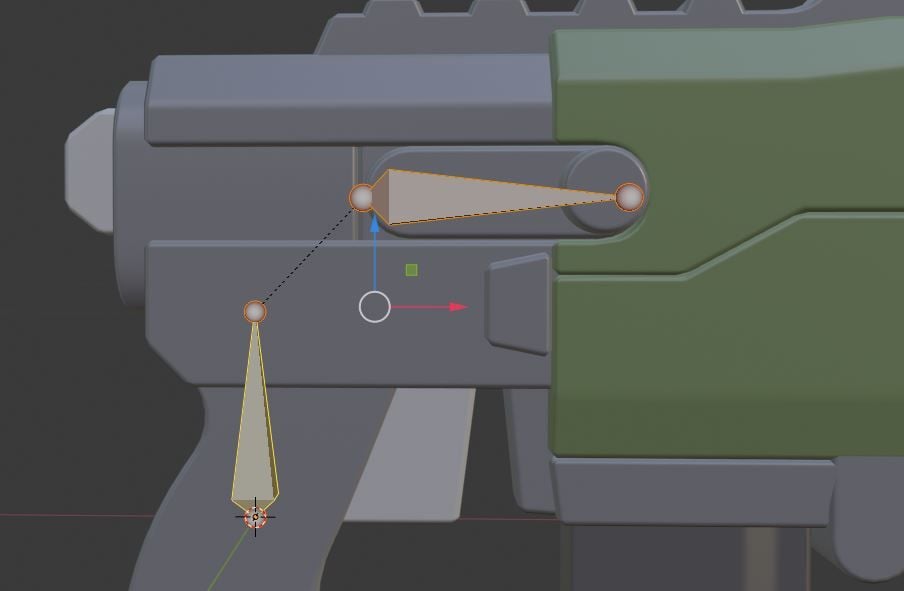
Now we have two bones. We want to make sure that all other bones are attached to the Handle bone, as it will act as our root bone. To do this, we parent the Bolt bone to the Handle bone, while making sure to keep its offset so that it stays in the correct position. A dotted line will appear indicating the connection.
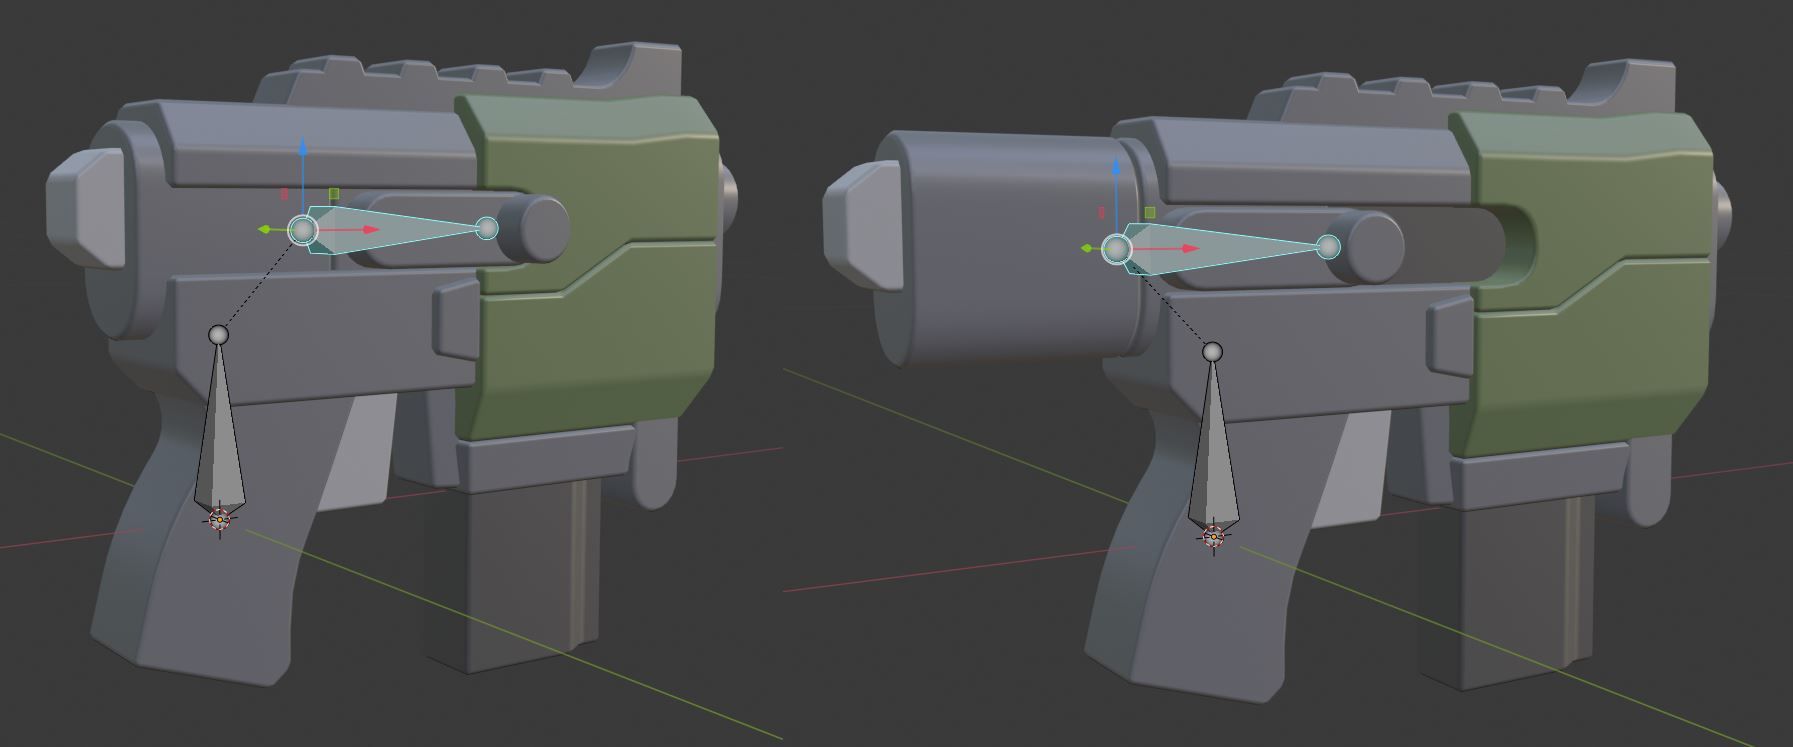
From here, we can parent the weapon mesh to the armature. In order to let the bones of the armature have control over the parts of the weapon, we need to set vertex weights for the mesh. Vertex weights essentially tell each vertex (or point on the weapon model) which bone of the armature it should follow. Vertices can be told to follow multiple bones, which is how deformation is achieved when animating organic characters and anything else which needs to bend or squish. However, we don't need to do this as our weapon model is made of hard plastic. All we need to do is set the parts of the mesh that make up the bolt to be fully weighted to the Bolt bone, and the rest of the weapon mesh can be fully weighted to the Handle bone. If we were to move the Bolt bone backwards now, we'd see the bolt of the weapon move backwards with it, like this:
Voilà, our weapon is now rigged! We've done everything that we need to get started on animating our weapon. However, this blog post has gotten quite long, so tune in for the next post when we animate our new weapon and finally implement it into the game. As always, if you have any questions or ideas, feel free to find us on Discord, Twitter, or e-mail.